![[B] Inspired Photography by Julie Boysen](https://blogger.googleusercontent.com/img/b/R29vZ2xl/AVvXsEigvxne1c4NpdQOYiiv9xm_wfbXwjXgzVpLwStgZG8hNfYEXUpV9RuFyheTIPrRuE2VBHANSH-AIhdpzEmbUp9nK_NfIW0VS3rObE9tL4pjOMxUYV7-ij2somSLf3ba9_OSBO5M7yE_DHw5/s992/blog+header.jpg)
If you have been following my blog for a while you know that I am on a mission to live what I love. To no longer be driven by fear, and to be intentional about creating the spaces around me, and to go for it when it comes to my dreams. Two-thousand-Eleven is about positive change for me. I'm not gonna lie- 2010 was rough. I am ready for a fresh start and a happy year.
So, to start it out well, I've just completed my first "I'm-gonna-get-around-to-that-someday" project.
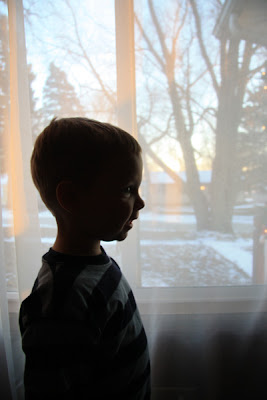
For a long time I have loved the beautiful silhouettes that Holly Mathis has of her kiddos on her interior design site. There is something so special about the way a silhouette brings out special elements and features of a little body that are sometimes missed in pictures. It shows the little double chin; the rooster tail; the curve of the cute little nose. However, even though I would say I am a creative person, I am NO artist.
Fortunately for me there is a little thing called Photoshop.
LOVE. PHOTOSHOP.
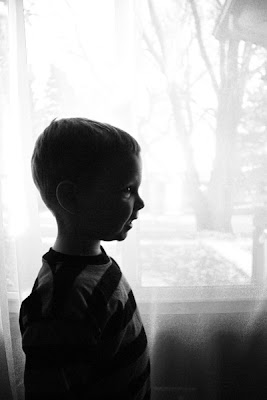
To try it out for yourself, start by taking some pictures of your child in front of a light background. I took T's pictures in front of our window, but a solid colored wall should work too. Make sure the flash is OFF for your pictures.
Here is the original picture I started off with.
 To change your photo to black and white go to Image>Adjustments>Hue/Saturation or Ctrl+U .
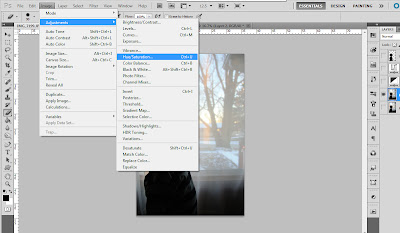
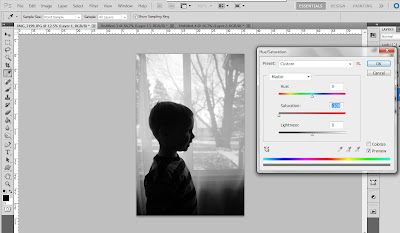
When the dialog bar comes up, slide the Saturation bar all the way to the left.
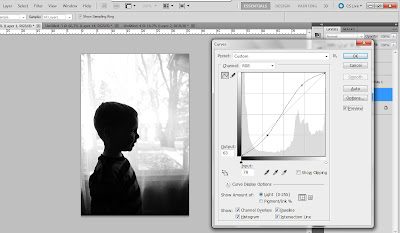
Next, add some contrast to the picture to make it easier to select your shape. To do that go to Image>Adjustments>Curves or Ctrl+M . (note: Ctrl + L in Photoshop Elements. You cannot get to curves from the Image menu. You will have a slider bar rather than a graph like below.)
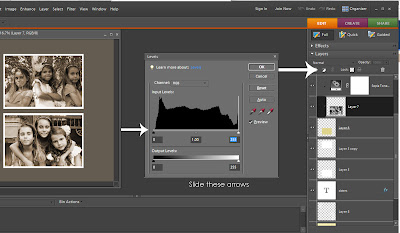
Photoshop Elements example. To change to black and white click on the icon (top arrow) and select Hue/Saturation from the drop down menu. Then, to add contrast, in the levels dialog box use the little arrows and move them toward the center in each direction.
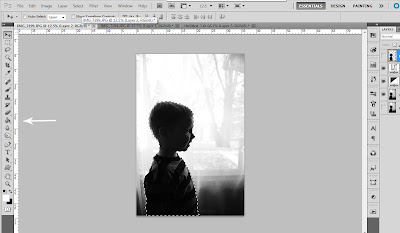
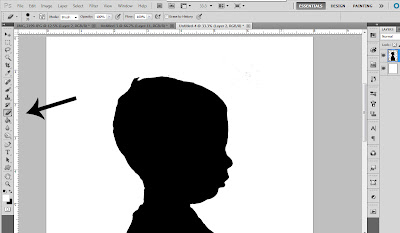
When your final product has a clear definition around it, you are ready to start selecting the image. I chose to select the background first.
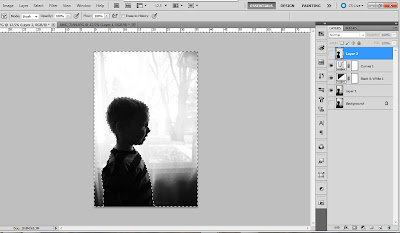
Use the wand tool (w) to click on an area. Then to add more to your selection, hold the shift key down while you click the areas to select. If you accidentally select more than you planned, hold down the Alt key and click to unselect. You may also need to use the lasso (l) tool to complete the selection, but your end result should look something like the above picture.
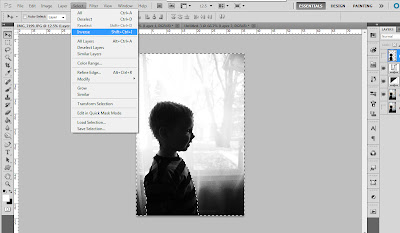
Next go to Select>Inverse so that just your subject is selected instead of the background.
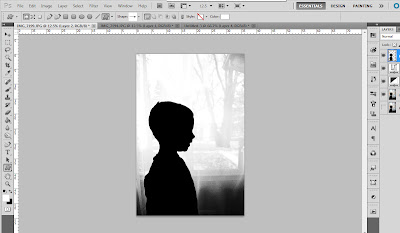
Next, click on the bucket tool, create a new layer (make a new layer by going to Layer>New>Layer) then fill the selected area with black "paint" by clicking in the selected area.

To change the color of "paint" click on the small box (the lower arrow is pointing to) and select the color you want. I wanted black of course.
After you make your new layer and fill it with black paint, your picture will looking something like this.
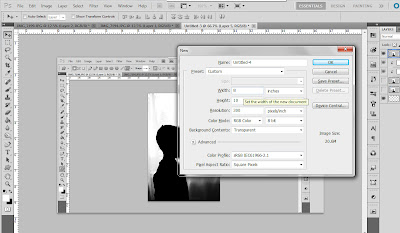
Now, we are going to take that black layer and put it on a fresh canvas.
Create a new file by going to File>New. Next select the size you want. For this project I made my canvas as an 8x10 with a print resolution of 300 (very important if you want it to print well).
You should have a new blank canvas that comes up. Next select the black silhouette layer (layer is blue on my screen when selected) and drag and drop the layer on the new canvas.
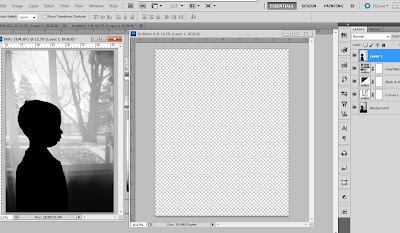

To make sure your picture is clean in the selection, add a layer of white below your silhouette, zoom in and use the eraser tool to clean up any edges.
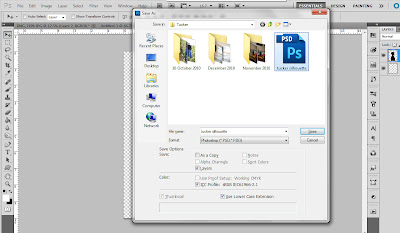
Next, save all your hard work. Make sure to save a copy in photoshop (.psd) as well as in JPG format (.jpg) in case you need to make any edits in to the file.
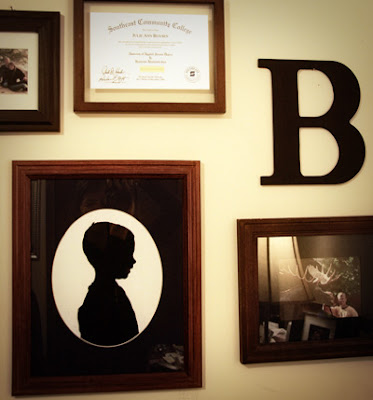
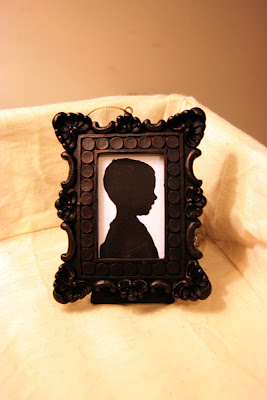
So here it is. My finished product. It needs a new frame, but I am so excited to have it completed.


0 comments